

New Organisation
Set up your own VAULO organisation – from verifying your email to a finished organisation.
Verify Email
After registering, you will receive an email at the address you provided.
Open your inbox and look for an email from noreply@vaulo.com with the subject "Verify your email address".
Click the Verify email address button.
You will be redirected to VAULO and can start setting up your account.
The email may take a few minutes to arrive. Check your spam folder if it doesn't show up.
Didn't receive an email?
On the Please confirm your email address page that appears after signing up, use Resend email to get a new confirmation link (again after 60 seconds). If you mistyped your address, Back to registration takes you back to the form. More under Sign up.
If the email still doesn't arrive, contact our support at support@vaulo.com.
Choose How to Start
After verifying your email, you are asked how you'd like to get started. You have two options:
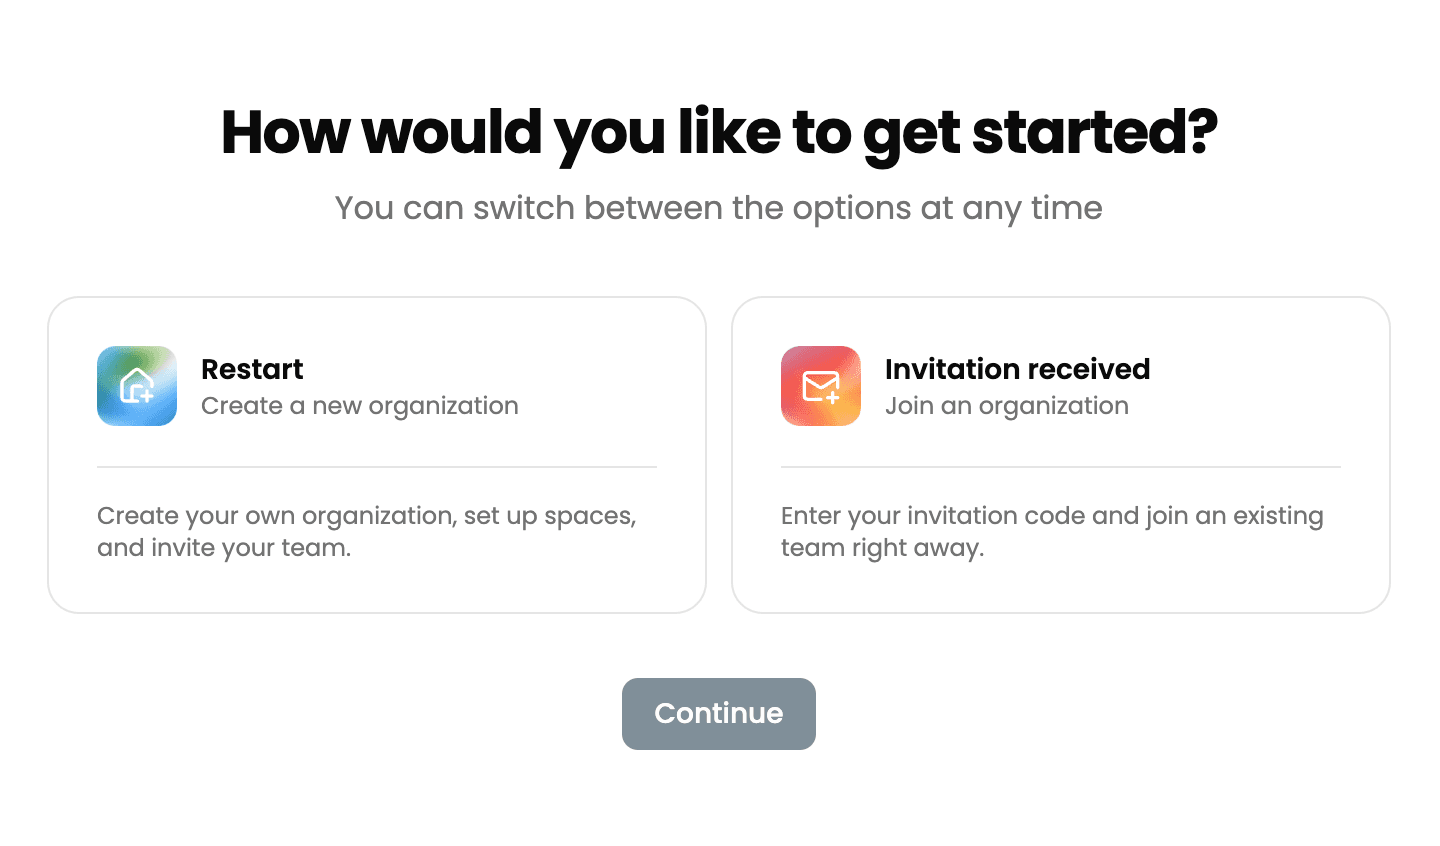
Start fresh
Choose this option if you want to set up VAULO independently for your company or as a freelancer. In the next step you will define the name and URL of your organisation.
Received an invitation
Choose this option if someone has already invited you to an existing VAULO organisation. You will need the invitation code from the invitation email.
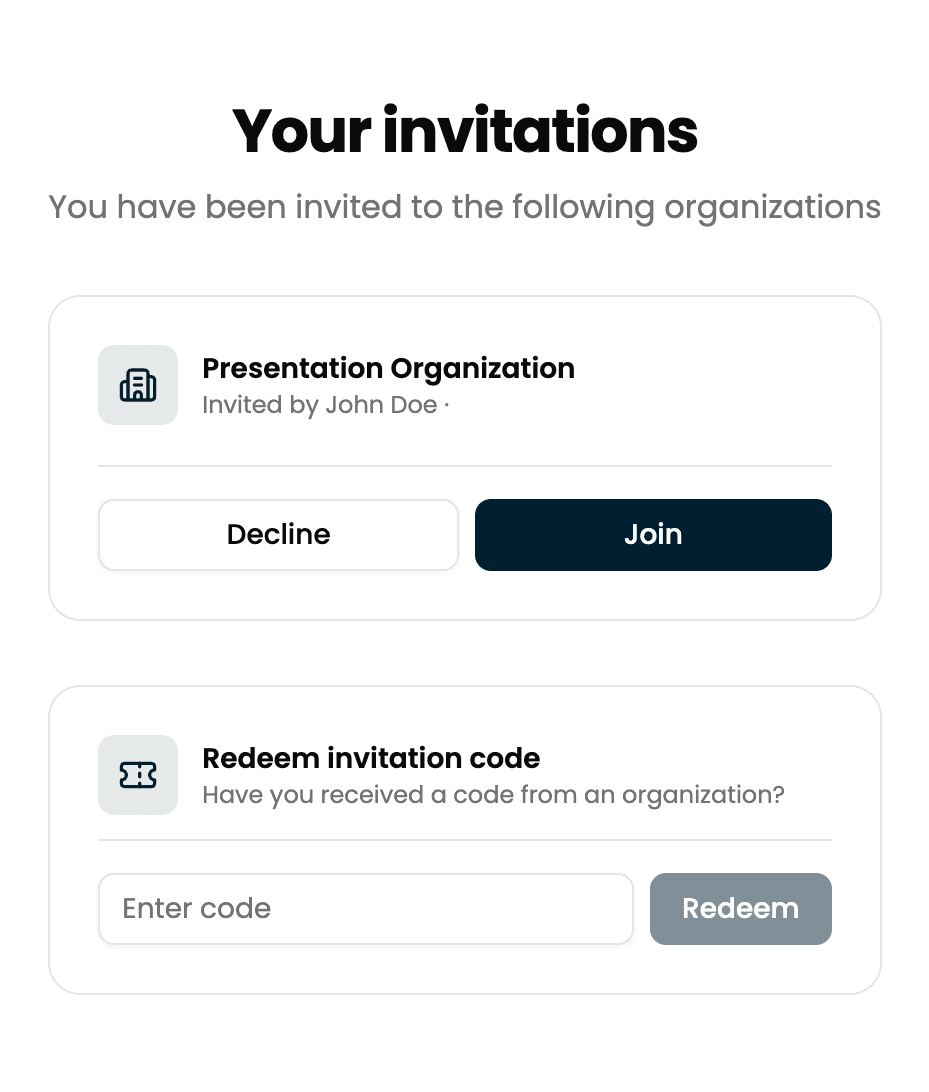
You can change this decision at any time — you can both create your own organisations and accept invitations.
Create Organisation
If you chose Start fresh, you now set up your organisation.
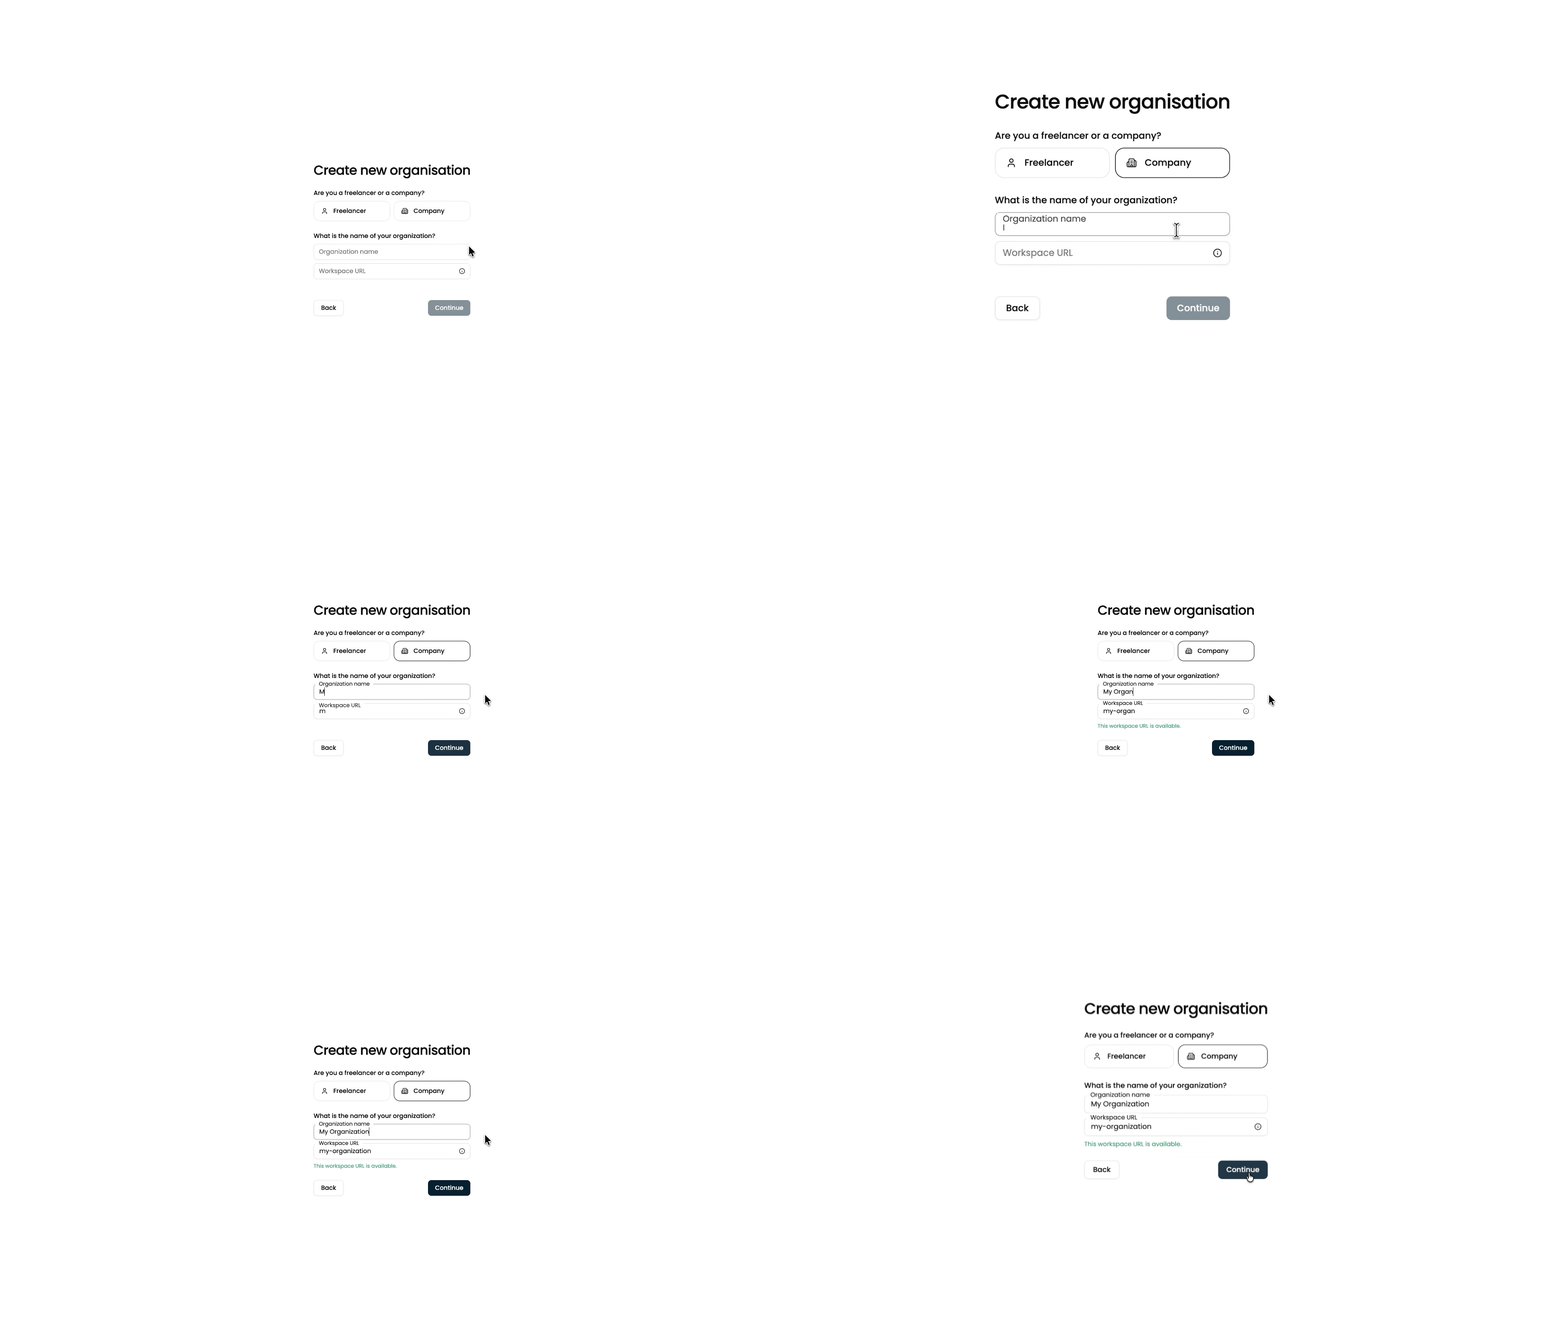
Account type
First, choose whether you work as a Freelancer or as a Company. This influences the default of some settings but can be changed at any time.
Name and workspace URL
Enter the name of your organisation — this is the display name in VAULO.
The workspace URL is automatically suggested from the name, e.g. my-org.vaulo.com. German umlauts are spelled out (ä → ae, ö → oe, ü → ue, ß → ss) and other symbols are dropped. You can adjust it manually. The allowed characters are listed right below the field: lowercase letters (a–z), digits, and hyphens.
VAULO immediately checks whether the desired URL is still available. If it is, "This workspace URL is available." appears in green.
Click Continue to proceed.
The workspace URL can only be changed by an administrator after creation. Choose it carefully.