

Groups
How to create, manage, and delete recipient groups in the VAULO Contacts Add-On.
Create & Manage Groups
To organize contacts and create individual recipient groups, click Manage groups and then Add group. A modal will open where you can create a group. Enter the desired group name. In our example, this is Sales Contacts.
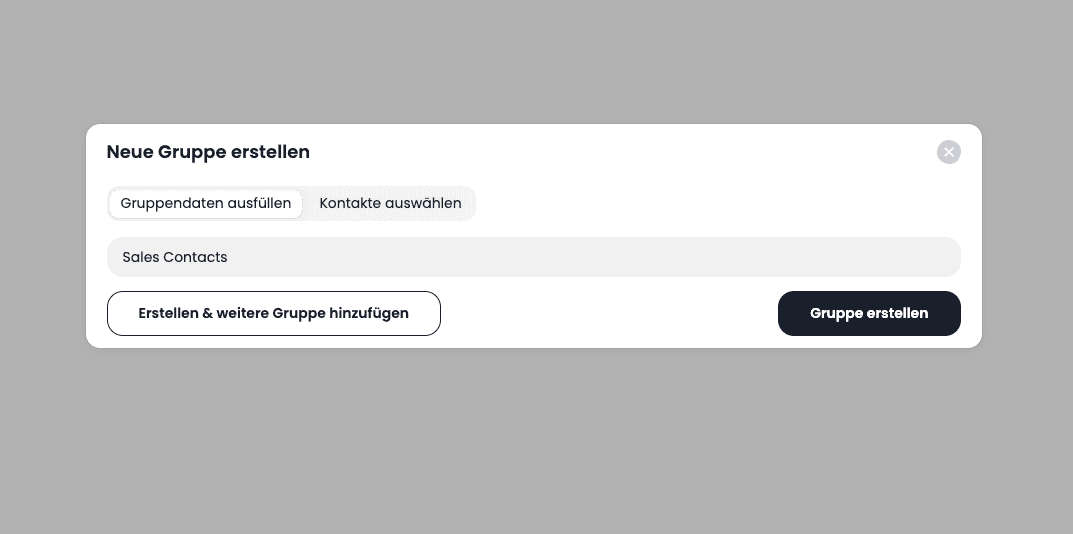
You then have the option to create the group and immediately add another one. Click the Create & add another group button to do so. If you only want to add this one group for now, click the Create group button. You have now created your first group. It is now visible in the table. Alternatively, you can also click directly on the Select contacts tab and select the contacts you want to add to this group.
In the group overview, the Number of contacts column shows you how many contacts are assigned to the group.
Add Contacts to Groups
To add contacts to a group, go to the Manage groups tab and then click the Pencil in the Actions column. In the modal that opens, switch to Manage contacts. There you can select the contacts you want to add to the group. Complete this process by clicking the Update group button.
Delete Groups
To delete a group, go to the Manage groups tab and then click the Pencil in the Actions column next to the group you want to delete. In the modal that opens, click the Trash icon and then click Delete group.
The contacts you have assigned to this group will be preserved even after deleting the group.